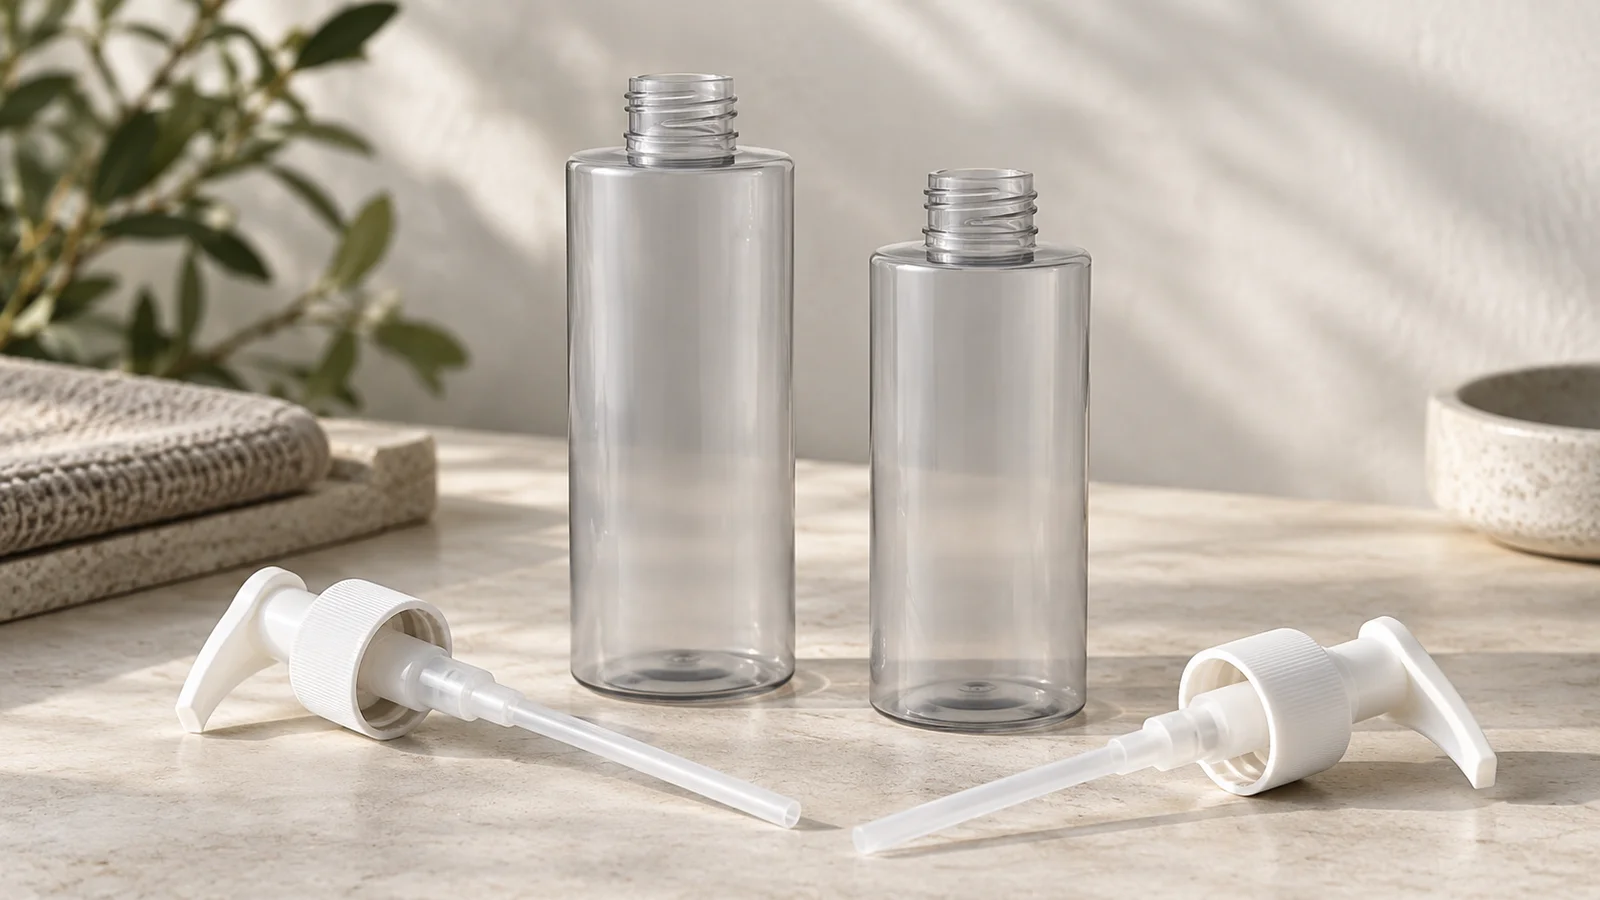
For 410 vs 415 neck finish pump fitment, match the complete finish designation and check the assembled seal. A 24-410 and a 24-415 bottle share a nominal diameter designation, but their neck finish heights differ. Whether a pump seats correctly also depends on its internal thread position, sealing depth, skirt clearance, and gasket construction.
Start with a 24-410 pump for a 24-410 bottle, or a 24-415 pump for a 24-415 bottle. Treat a proposed cross-finish replacement as a new assembly to qualify. A collar that screws on—or feels tight—still needs to bring the intended sealing surfaces into contact before another part stops its travel.
24-410 vs 24-415: what changes?
The 415 finish is taller in the Apex Plastics reference chart. The table below uses its plastic-bottle dimensions, with the original inch ranges converted to millimetres. Use the bottle supplier’s current drawing and tolerances when checking a particular component.
| Comparison | 24-410 | 24-415 |
|---|---|---|
| Nominal neck designation | 24 mm | 24 mm |
| Finish height H, inches | 0.631–0.661 in | 0.942–0.972 in |
| Finish height H, converted | 16.03–16.79 mm | 23.93–24.69 mm |
| Typical thread turns illustrated by McKernan | 1.5 | 2 |
| Starting pump specification | 24-410 closure | 24-415 closure |
| Fitment check for either finish | Seal seats with suitable thread engagement and skirt clearance | Seal seats with suitable thread engagement and skirt clearance |
Sources: Apex Plastics, Understanding Neck Finishes (2021), 24 mm plastic-finish chart; McKernan, Continuous Thread Finish (2022 handbook), thread-style illustrations. Millimetre ranges are converted using 25.4 mm per inch and rounded to two decimal places.
The numbers 410 and 415 identify finish styles. For a replacement pump, obtain the full code from the component specification; measuring an approximately 24 mm thread diameter only identifies part of the fit. Likewise, count the illustrated turns as a description of bottle-thread geometry. Assess how the pump’s mating threads engage at the sealing position using the assembly drawing.
Measure the neck and the closure together
Compare the bottle’s dimensions with the pump’s internal geometry. Exterior collar height tells you where the skirt ends; the seal-seat position tells you where the bottle rim must arrive. These measurements serve different purposes.
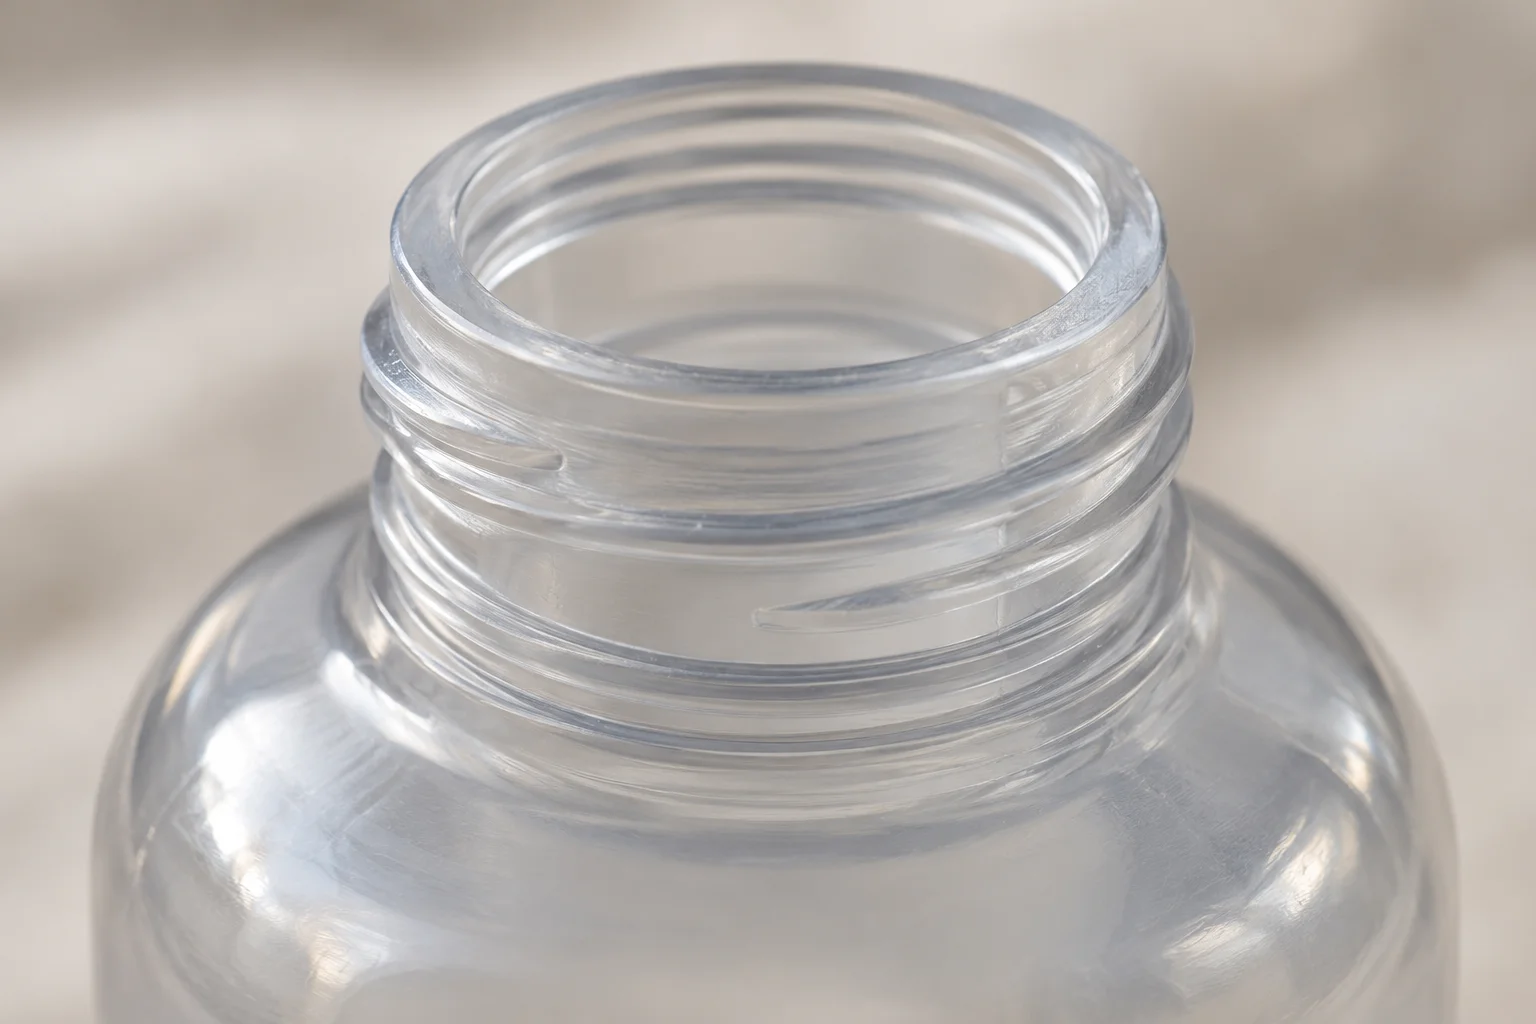
The dimensional definitions in Apex Plastics’ reference and C.L. Smith’s Neck Finish Dimensions distinguish five useful bottle measurements:
- T: diameter across the outside of the threads.
- E: diameter across the neck wall at the thread roots.
- I: internal opening diameter; check it against the pump housing and any plug-seal geometry.
- S: distance from the top of the finish to the top edge of the first thread.
- H: height from the neck top to where the projected T diameter intersects the shoulder.
That H reference matters on a curved shoulder. To check whether a pump skirt will hit the bottle, inspect the shoulder at the actual skirt radius. A dimension taken down the outside of the thread cannot alone describe clearance for a wider collar.
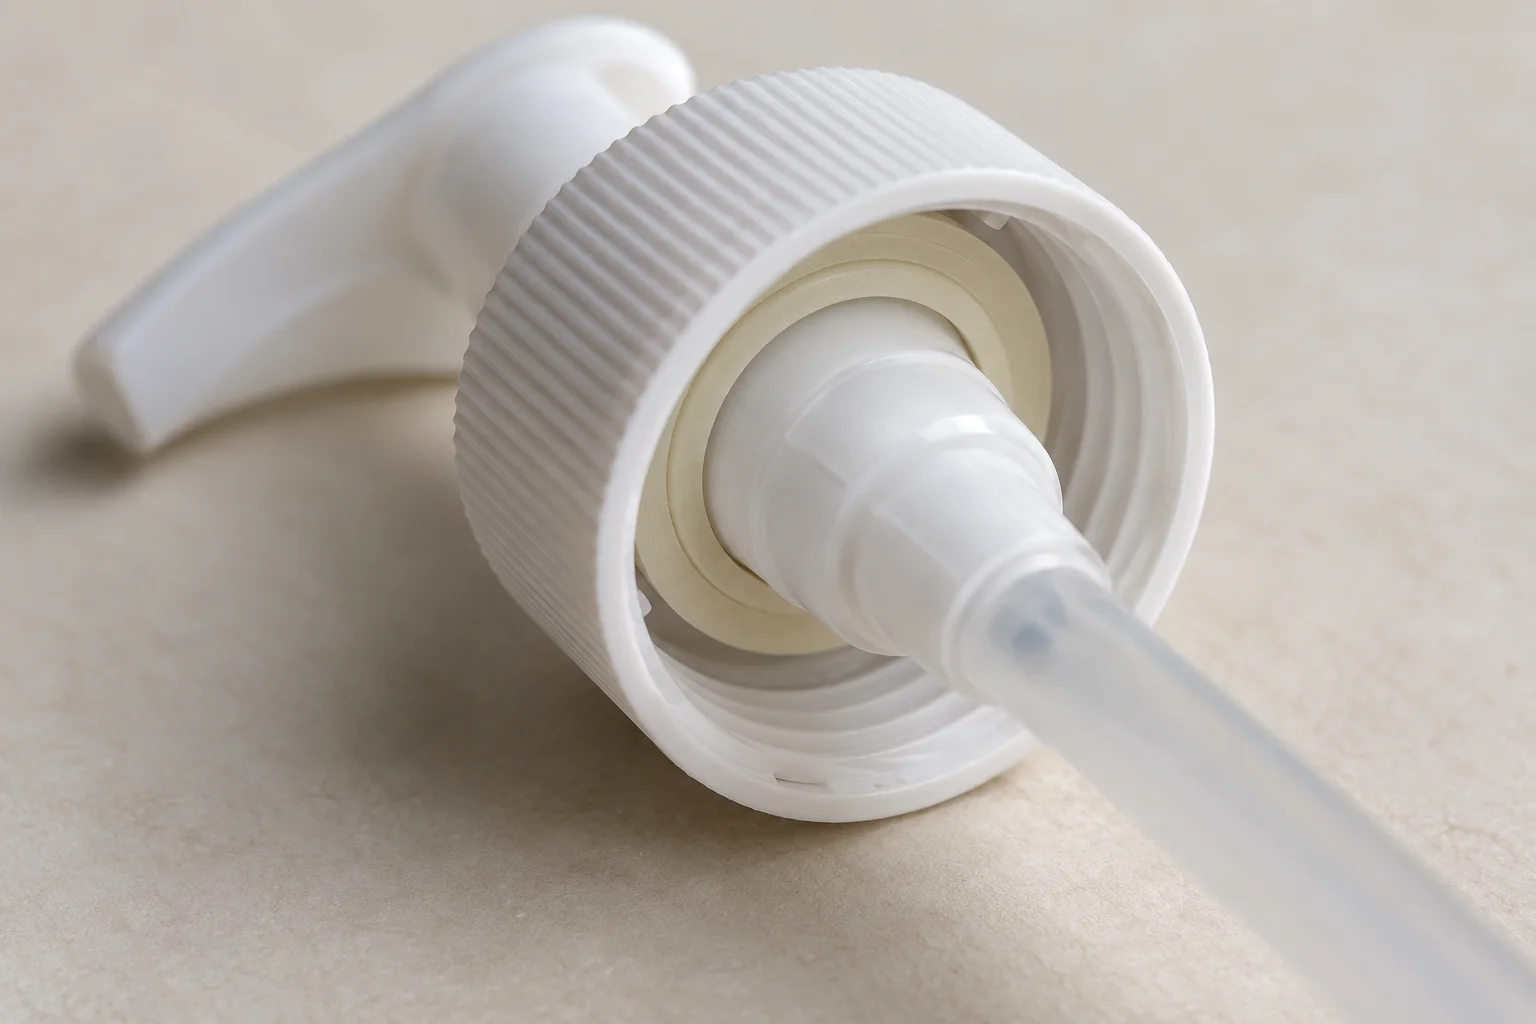
On the pump drawing, locate the internal thread start and end, the gasket backing seat, and the lower skirt edge. Compare their axial positions with the bottle’s top land and threads at the intended assembled position. Include the pump housing’s clearance through the neck opening. A section drawing makes these relationships easier to check than a catalog photograph.
Why a pump can feel tight before it seals
Tightening resistance can come from an obstruction before the gasket has seated. SKS Bottle’s Caps & Closures Glossary defines bottoming-out as premature contact between the closure skirt and the bottle shoulder or transfer bead, before the sealing surfaces form a seal. The key is the order of contact.
A deeper skirt on a shorter neck deserves particular attention: the lower edge may reach the shoulder while the gasket remains above the bottle land. A shorter skirt on a taller neck may leave more neck exposed. In that case, inspect the internal seal and thread positions to determine whether the assembly seats correctly; visible neck exposure alone does not establish a leak.
| What you observe | What to inspect | Decision before approving the pair |
|---|---|---|
| A deeper skirt reaches the shoulder or bead | Whether contact occurs before the intended gasket compression | If contact prevents seal seating, change the component pairing or geometry |
| A shorter skirt leaves lower neck or threads visible | Gasket contact and mating-thread engagement at the assembled position | Assess sealing and appearance separately |
| The collar sits tilted or becomes difficult to turn early | Thread alignment, thread-start positions, damage and interference | Stop forcing the collar; resolve the interference and recheck with sound samples |
| The collar jumps, slips or continues turning | Thread damage, distortion and application torque | Reject the damaged sample and investigate the cause before repeating assembly |
| The collar seats evenly but the pack leaks | Land condition, gasket seating, torque and product compatibility | Diagnose the sealing system with the actual filled pack |
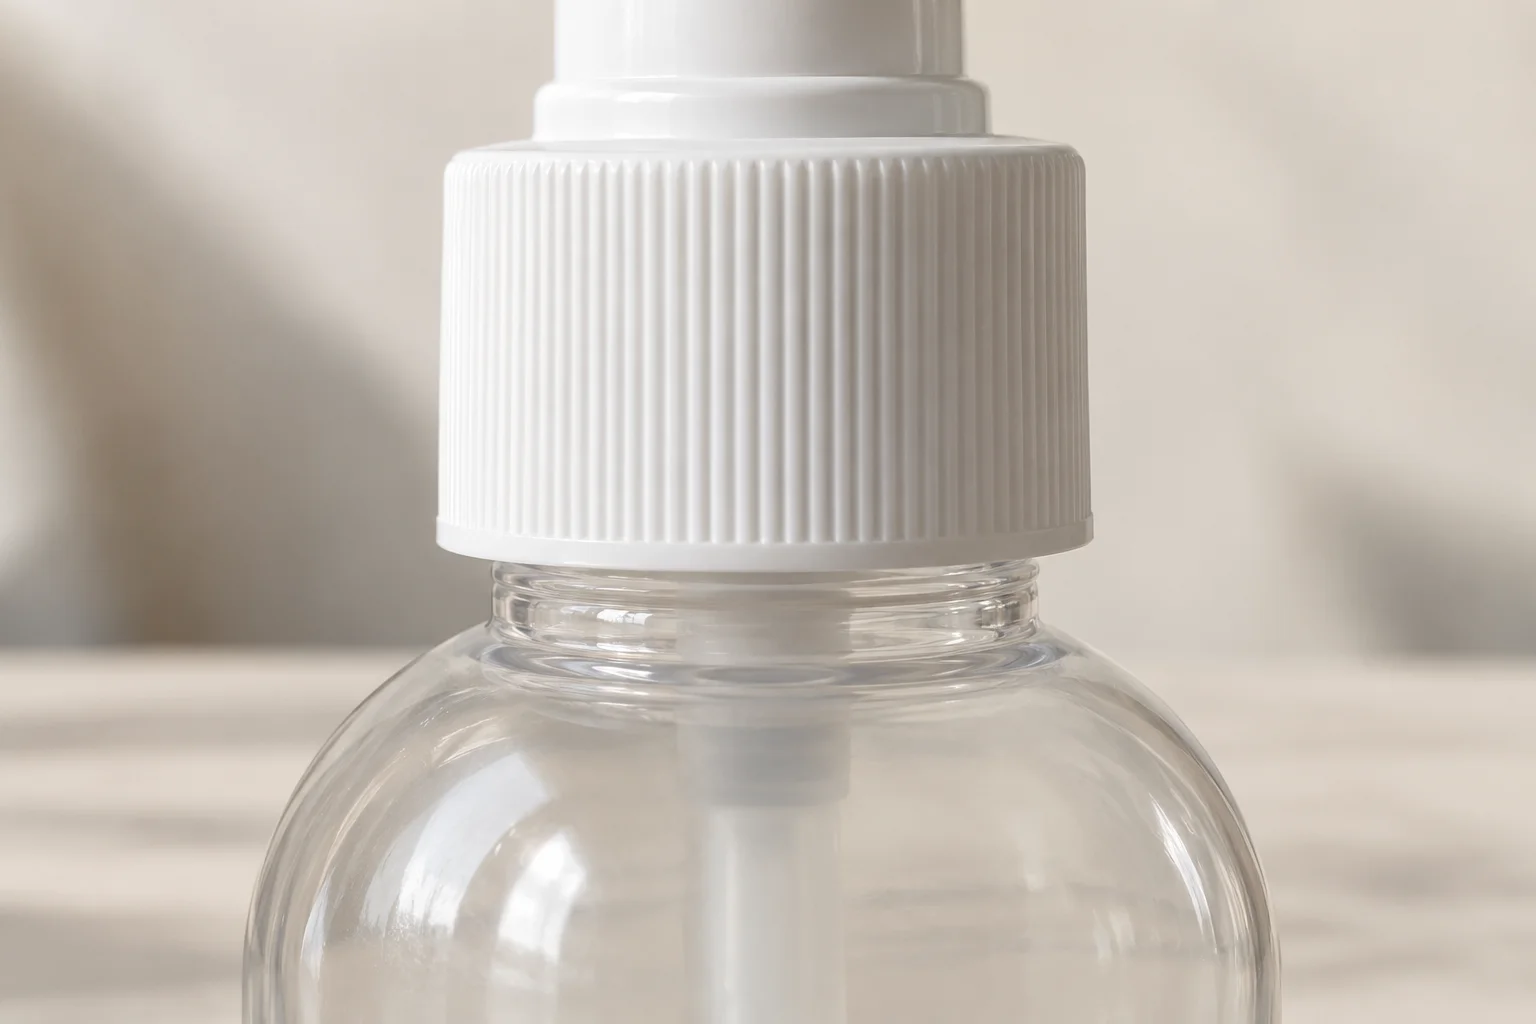
Selig’s Guide to Successful Sealing describes how skirt bottoming and thread jumping reduce sealing pressure in lined closures. For a top-land gasketed pump, the same contact principle gives a useful diagnostic: a hard stop must still allow the gasket to reach its intended compressed position. Evaluate plug seals and other linerless designs against their own mating geometry.
Check thread engagement and liner compression together
The threads must hold the closure in a position that loads its intended seal. Enough apparent rotation to feel secure does not establish the gasket’s condition. Compare the mating thread profiles and the gasket space at the same assembled position.
For a top-land gasket, define:
- t₀: the gasket’s free, uncompressed thickness.
- g: the axial gap between its backing seat and the bottle’s top sealing land at the position being checked.
The geometric relationship is potential axial squeeze = t₀ − g, when positive. If g > t₀, space remains below the gasket. If g = t₀, the surfaces have just reached contact. With g < t₀, compare the resulting squeeze with the gasket supplier’s approved compression range.
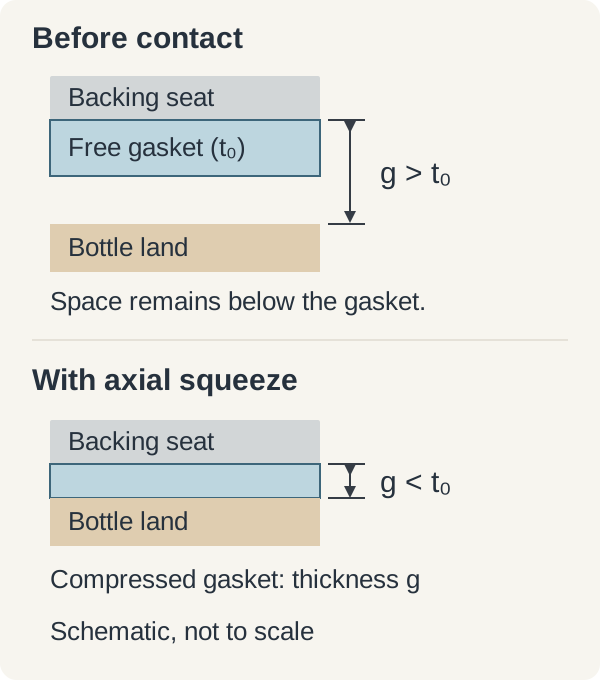
Use the tolerance limits of both components in this check. A nominal drawing position can look suitable while a deeper seal seat, thinner gasket, or earlier skirt contact changes the available squeeze. The relevant output is a permissible assembly range across the specified tolerances.
Then examine engagement at that range: matching thread form and pitch, start positions, overlap, and freedom from a premature thread stop. McKernan’s 1.5-turn and 2-turn illustrations describe the finish styles; actual engagement depends on the mating closure. Use the component supplier’s engagement criteria for acceptance.
Gasket rebound, closure deformation and exposure to the formula also affect retained contact. A geometric compression check therefore belongs alongside physical seal and compatibility tests.
Verify the bottle and pump as an assembly
Qualify the exact bottle, pump, gasket and formula combination with a defined assembly procedure. Apex recommends testing the bottle and closure together. TricorBraun’s Understanding Torque in Closure Applications explains why both insufficient and excessive tightening can undermine sealing.
Use the following sequence when comparing samples:
- Confirm component identity. Record bottle and pump part numbers, complete finish codes, materials and drawing revisions. Inspect the neck land, threads and gasket before assembly.
- Check seating and clearance. Compare the section drawings, then inspect assembled samples for tilt, premature contact and thread damage. Verify the seal’s intended location.
- Apply the specified collar torque. Use the component supplier’s application range and a suitable torque-measurement procedure. Keep actuator opening or unlocking torque as a separate measurement.
- Measure removal torque separately. Record the measurement method and elapsed time after assembly. Keep application and removal readings distinct in the test record.
- Test the filled assembly. Select leak-test conditions, handling or transport tests, and acceptance criteria for the intended pack. Check formula compatibility, including the gasket’s response to exposure.
Aptar’s Laboratory Testing overview lists application/removal torque measurement, variable-condition vacuum sealing tests, transport/drop testing and gasket swell testing among its packaging test capabilities. These are useful categories for defining an assembly qualification plan; select the conditions and acceptance limits for the actual components and distribution route.
For the other parts of a dispensing assembly, continue with lotion-pump dosage and dip-tube sizing. Evaluate pressing and handling separately with the guide to packaging and ease of use.
Keep a fitment record before approving a swap
Approve a documented component pairing with a repeatable assembly method. Bring these inputs together so that a later bottle, pump or gasket change can be checked against the same requirements.
| Record | What it should identify |
|---|---|
| Bottle | Part number, material, full finish code, drawing revision and T/E/I/H/S tolerances |
| Pump closure | Part number, finish code, internal thread geometry, skirt depth/radius and seal-seat position |
| Seal | Construction, gasket material, free thickness and approved compression range |
| Assembly geometry | Thread engagement, housing clearance, skirt clearance and intended sealing position |
| Torque procedure | Application range; removal method and timing; actuator opening measurement kept separate |
| Filled-pack verification | Formula, conditioning, leak/transport/compatibility methods, acceptance limits and results |
A change from 410 to 415 should trigger this comparison even when the nominal diameter stays the same. Keep the accepted drawings and sample results with the component specification. For related guidance on everyday dispensers, browse personal-care packaging.